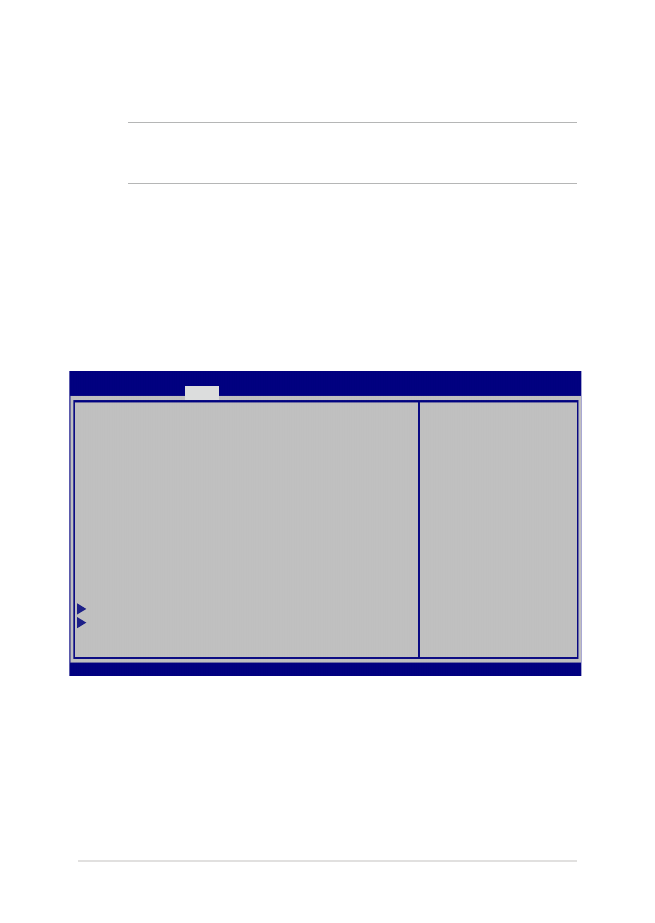
BIOS iestatījumi
PIEZĪME. Šajā sadaļā redzamie BIOS ekrāni ir tikai atsaucei. Faktiskie
ekrāni var atšķirties pēc modeļiem un teritorijas.
Sāknēšana
Šajā izvēlnē var iestatīt sāknēšanas opciju prioritātes. Iestatot
sāknēšanas prioritāti, varat izpildīt tālāk minētās darbības.
1. Ekrānā
Boot (Sāknēšana) atlasiet Boot Option #1
(1. sāknēšanas opcija).
→←
: Select Screen
↑↓
: Select Item
Enter: Select
+/— : Change Opt.
F1 : General Help
F9 : Optimized Defaults
F10 : Save & Exit
ESC : Exit
Boot Configuration
Fast Boot [Enabled]
Launch CSM [Disabled]
Driver Option Priorities
Boot Option Priorities
Boot Option #1 [Windows Boot Manager]
Add New Boot Option
Delete Boot Option
Sets the system
boot order
Aptio Setup Utility - Copyright (C) 2015 American Megatrends, Inc.
Main Advanced
Boot
Security Save & Exit
Version 2.15.1226. Copyright (C) 2015 American Megatrends, Inc.
72
Piezīmjdatora e-rokasgrāmata
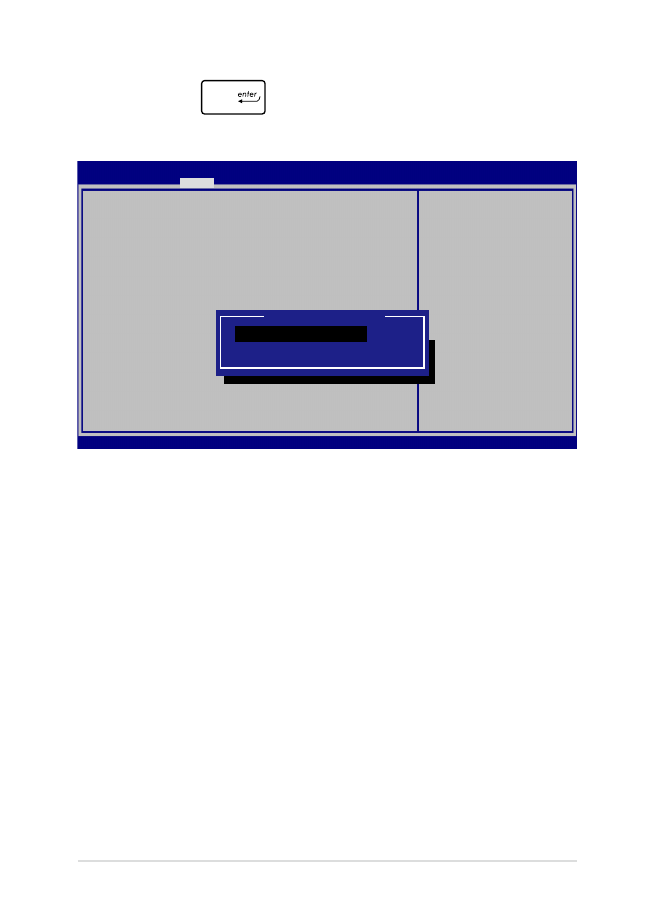
2. Nospiediet
un atlasiet ierīci kā Boot Option #1
(1. sāknēšanas opcija).
→←
: Select Screen
↑↓
: Select Item
Enter: Select
+/— : Change Opt.
F1 : General Help
F9 : Optimized Defaults
F10 : Save & Exit
ESC : Exit
Sets the system
boot order
Aptio Setup Utility - Copyright (C) 2015 American Megatrends, Inc.
Main Advanced
Boot
Security Save & Exit
Version 2.15.1226. Copyright (C) 2015 American Megatrends, Inc.
Boot Configuration
Fast Boot [Enabled]
Launch CSM [Disabled]
Driver Option Priorities
Boot Option Priorities
Boot Option #1 [Windows Boot Manager]
Add New Boot Option
Delete Boot Option
Boot Option #1
Windows Boot Manager
Disabled

Piezīmjdatora e-rokasgrāmata
73
Drošība
Šajā izvēlnē var iestatīt piezīmjdatora administratora un lietotāja paroli.
Tādējādi var vadīt piekļuvi piezīmjdatora cietajam diskam, ievades/
izvades (I/O) interfeisam un USB interfeisam.
PIEZĪME.
•
Ja iestatāt User Password (Lietotāja parole), tā būs jāievada, lai
piekļūtu piezīmjdatora operētājsistēmai.
•
Ja iestatāt Administrator Password (Administratora parole), tā būs
jāievada, lai piekļūtu BIOS.
Password Description
If ONLY the Administrator’s password is set,
then this only limits access to Setup and is
only asked for when entering Setup. If ONLY
the user’s password is set, then this is a
power on password and must be entered to boot
or enter Setup. In Setup, the User will have
Administrator rights.
Administrator Password Status NOT INSTALLED
User Password Status NOT INSTALLED
Administrator Password
User Password
HDD Password Status : NOT INSTALLED
Set Master Password
Set User Password
I/O Interface Security
System Mode state User
Secure Boot state Enabled
Secure Boot Control [Enabled]
Key Management
Set Administrator
Password. The
password length
must be in the
following range:
Minimum length 3
Maximum length 20
Aptio Setup Utility - Copyright (C) 2015 American Megatrends, Inc.
Main Advanced Boot
Security
Save & Exit
→←
: Select Screen
↑↓
: Select Item
Enter: Select
+/— : Change Opt.
F1 : General Help
F9 : Optimized Defaults
F10 : Save & Exit
ESC : Exit
Version 2.15.1226. Copyright (C) 2015 American Megatrends, Inc.

74
Piezīmjdatora e-rokasgrāmata
Lai iestatītu paroli
1. Ekrānā
Security (Drošība) atlasiet Setup Administrator
Password (Iestatīt administratora paroli) vai User Password
(Lietotāja parole).
2.
Ierakstiet paroli un nospiediet
.
3.
Atkārtoti ierakstiet paroli, lai to apstiprinātu, un nospiediet
.
Lai nodzēstu paroli
1. Ekrānā
Security (Drošība) atlasiet Setup Administrator
Password (Iestatīt administratora paroli) vai User Password
(Lietotāja parole).
2.
Ievadiet pašreizējo paroli un nospiediet
.
3. Lauku
Create New Password (Izveidot jaunu paroli) atstājiet
tukšu un nospiediet
.
4.
Apstiprinājuma lodziņā atlasiet Yes (Jā), pēc tam nospiediet
.
Piezīmjdatora e-rokasgrāmata
75
I/O interfeisa drošība
Izvēlnē Security (Drošība) varat piekļūt I/O Interface Security
(I/O interfeisa drošība), lai bloķētu vai atbloķētu piezīmjdatora
interfeisa funkcijas.
I/O interfeisa bloķēšana
1. Ekrānā
Security (Drošība) atlasiet I/O Interface Security
(I/O interfeisa drošība).
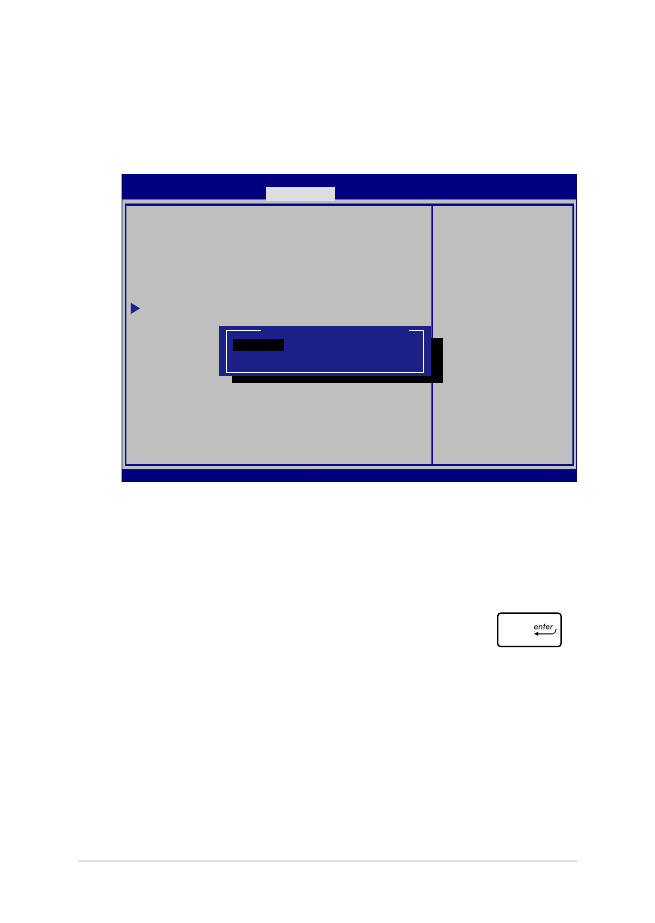
2.
Atlasiet bloķējamo interfeisu un noklikšķiniet uz
.
3. Atlasiet
Lock (Bloķēt).
I/O Interface Security
LAN Network Interface [UnLock]
Wireless Network Interface [UnLock]
HD AUDIO Interface [UnLock]
USB Interface Security
If Locked, LAN
controller will
be disabled.
Aptio Setup Utility - Copyright (C) 2015 American Megatrends, Inc.
Security
→←
: Select Screen
↑↓
: Select Item
Enter: Select
+/— : Change Opt.
F1 : General Help
F9 : Optimized
Defaults
F10 : Save & Exit
ESC : Exit
Version 2.15.1226. Copyright (C) 2015 American Megatrends, Inc.
LAN Network Interface
Lock
UnLock
76
Piezīmjdatora e-rokasgrāmata
USB interfeisa drošība
Izvēlnē I/O Interface Security (I/O interfeisa drošība) varat arī
piekļūt USB Interface Security (USB interfeisa drošība), lai bloķētu
vai atbloķētu portus un ierīces.
USB interfeisa bloķēšana
1. Ekrānā
Security (Drošība) atlasiet I/O Interface Security
(I/O interfeisa drošība) > USB Interface Security (USB
interfeisa drošība).
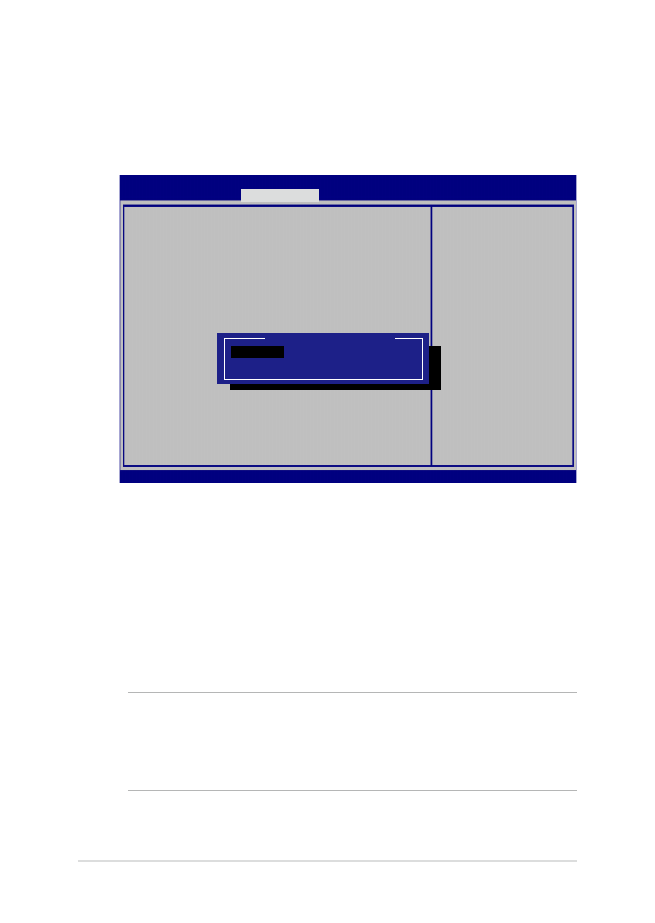
2.
Atlasiet bloķējamo interfeisu un noklikšķiniet uz Lock
(Bloķēt).
PIEZĪME. Iestatījumu USB Interface (USB interfeiss) iestatot uz Lock
(Bloķēt), tiek bloķēti un slēpti arī External Ports (Ārējie porti) un citas
ierīces, kas ietvertas izvēlnē USB Interface Security (USB interfeisa
drošība).
Version 2.15.1226. Copyright (C) 2015 American Megatrends, Inc.
USB Interface Security
USB Interface [UnLock]
External Ports [UnLock]
CMOS Camera [UnLock]
Card Reader [UnLock]
If Locked, all
USB device will
be disabled
Aptio Setup Utility - Copyright (C) 2015 American Megatrends, Inc.
Security
→←
: Select Screen
↑↓
: Select Item
Enter: Select
+/— : Change Opt.
F1 : General Help
F9 : Optimized
Defaults
F10 : Save & Exit
ESC : Exit
USB Interface
Lock
UnLock
Piezīmjdatora e-rokasgrāmata
77
Set Master Password (Iestatīt galveno paroli)
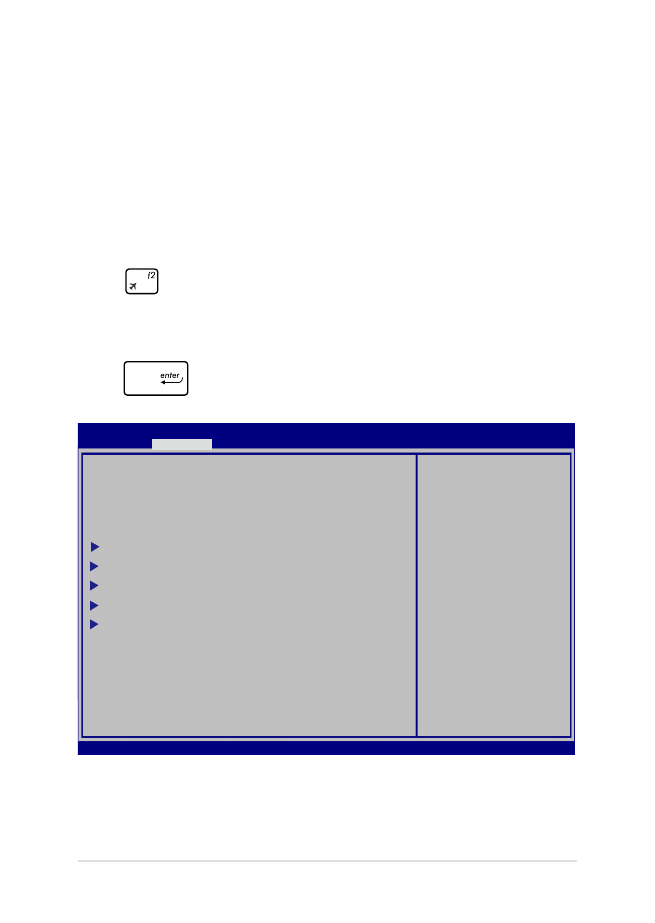
Izvēlnē Security (Drošība) varat lietot opciju Set Master
Password (Iestatīt galveno paroli), lai iestatītu paroles iespējotu
piekļuvi cietajam diskam.
HDD paroles iestatīšana
1. Ekrānā
Security (Drošība) noklikšķiniet uz Set Master
Password (Iestatīt galveno paroli),
2.
Ievadiet paroli un nospiediet
.
3.
Ievadiet paroli vēlreiz, lai to apstiprinātu, un nospiediet
.
4.
Noklikšķiniet uz Set User Password (Iestatīt lietotāja
paroli) un atkārtojiet iepriekšējās darbības, lai iestatītu
lietotāja paroli.
Aptio Setup Utility - Copyright (C) 2011 American Megatrends, Inc.
Set HDD Master
Password.
***Advisable to
Power Cycle System
after Setting Hard
Disk Passwords***
Aptio Setup Utility - Copyright (C) 2015 American Megatrends, Inc.
Main Advanced Boot
Security
Save & Exit
→←
: Select Screen
↑↓
: Select Item
Enter: Select
+/— : Change Opt.
F1 : General Help
F9 : Optimized
Defaults
F10 : Save & Exit
ESC : Exit
Version 2.15.1226. Copyright (C) 2015 American Megatrends, Inc.
Password Description
If ONLY the Administrator’s password is
set,then this only limits access to Setup
and is only asked for when entering Setup.
If ONLY the user’s password is set, then
this is a power on password and must be
entered to boot or enter Setup. In Setup,
the User will have Administrator rights.
Administrator Password Status NOT INSTALLED
User Password Status NOT INSTALLED
Administrator Password
User Password
HDD Password Status : NOT INSTALLED
Set Master Password
Set User Password
I/O Interface Security

78
Piezīmjdatora e-rokasgrāmata
Save & Exit (Saglabāt un aizvērt)
Lai pirms BIOS aizvēršanas paturētu konfigurāciju iestatījumus, atlasiet
Save Changes and Exit (Saglabāt izmaiņas un aizvērt).
Aptio Setup Utility - Copyright (C) 2015 American Megatrends, Inc.
Main Advanced Boot Security
Save & Exit
→←
: Select Screen
↑↓
: Select Item
Enter: Select
+/— : Change Opt.
F1 : General Help
F9 : Optimized Defaults
F10 : Save & Exit
ESC : Exit
Version 2.15.1226. Copyright (C) 2015 American Megatrends, Inc.
Save Changes and Exit
Discard Changes and Exit
Save Options
Save Changes
Discard Changes
Restore Defaults
Boot Override
Windows Boot Manager
Launch EFI Shell from filesystem device
Exit system setup
after saving the
changes.
Piezīmjdatora e-rokasgrāmata
79
BIOS atjaunināšana.
1.
Pārbaudiet piezīmjdatora precīzu modeli un pēc tam no ASUS
vietnes lejupielādējiet jaunāko jūsu modeļa BIOS failu.
2.
Lejupielādētā BIOS faila kopiju saglabājiet zibatmiņā.
3.
Zibatmiņu pievienojiet piezīmjdatoram.
4.
Restartējiet piezīmjdatoru, pēc tam POST procesa laikā nospiediet
.
5.
BIOS iestatīšanas programmā noklikšķiniet uz Advanced > Start
Easy Flash (Papildu > Sākt Easy Flash) un pēc tam nospiediet
.
Aptio Setup Utility - Copyright (C) 2011 American Megatrends, Inc.
Start Easy Flash
Internal Pointing Device [Enabled]
Wake on Lid Open [Enabled]
Power Off Energy Saving [Enabled]
SATA Configuration
Graphics Configuration
Intel (R) Anti-Theft Technology Corporation
USB Configuration
Network Stack
Press Enter to run
the utility to
select and update
BIOS.
Aptio Setup Utility - Copyright (C) 2015 American Megatrends, Inc.
Main
Advanced
Boot Security Save & Exit
→←
: Select Screen
↑↓
: Select Item
Enter: Select
+/— : Change Opt.
F1 : General Help
F9 : Optimized Defaults
F10 : Save & Exit
ESC : Exit
Version 2.15.1226. Copyright (C) 2015 American Megatrends, Inc.
80
Piezīmjdatora e-rokasgrāmata
6.
Lejupielādēto BIOS failu atrodiet zibatmiņā un nospiediet
.
7.
Pēc BIOS atjaunināšanas noklikšķiniet uz Exit > Restore Defaults
(Iziet > Atjaunot noklusējuma iestatījumus), lai atjaunotu
sistēmu uz tās noklusējuma iestatījumiem.
FSO
FS1
FS2
FS3
FS4
0 EFI
<DIR>
ASUSTek Easy Flash Utility
[←→]: Switch [↑↓]: Choose [q]: Exit [Enter]: Enter/Execute
Current BIOS
Platform: G752
Version: 101
Build Date: Apr 26 2015
Build Time: 11:51:05
New BIOS
Platform: Unknown
Version: Unknown
Build Date: Unknown
Build Time: Unknown
FLASH TYPE:
Generic Flash Type

Piezīmjdatora e-rokasgrāmata
81